Elevate Your Exterior
Transform Your Outdoors with West Hills Masonry!
Call our Professional Contractors!
(714) 519-5009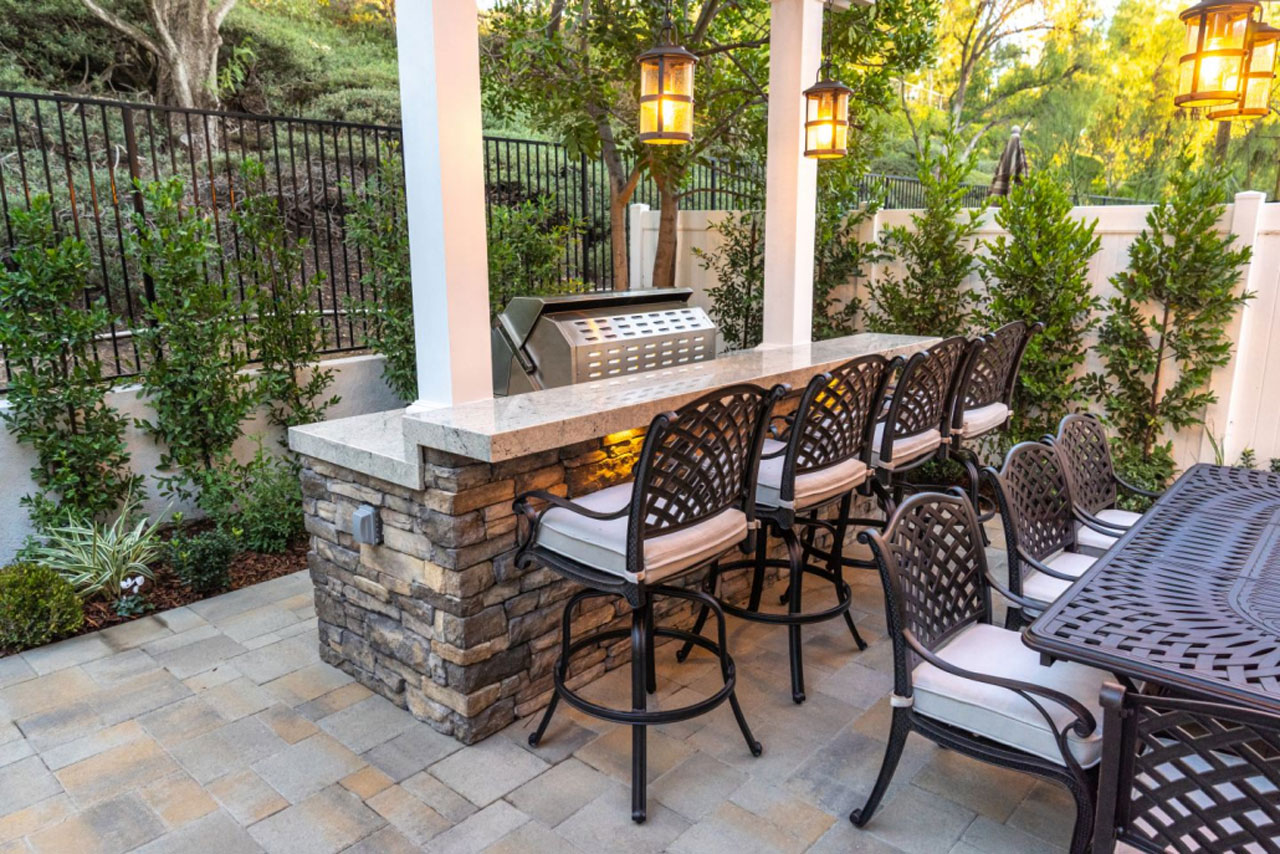
Grilling is a popular way to enjoy a delicious meal outdoors. A great way to make your outdoor grilling experience even better is to build an outdoor grilling station. This comprehensive guide outlines the steps needed to build a backyard grilling station from start to finish.
Building outdoor grill stations and fire pits are a great way to take your outdoor kitchen to the next levelA level is a tool used to determine whether a surface is horizontal (level) or vertical (plumb). It .... This project will require some planning, design, and construction, but it can be completed with basic tools and materials.
Before you begin construction, you need to plan and design your outdoor grilling station. This includes determining the location, choosing the size and style, and selecting the materials for construction.
The first step in planning your outdoor grilling station is to determine its location. Consider factors such as access to utilities, the amount of space available, and whether the grilling station or gas grill will be in direct sunlight or shade.
The size and style of your grilling station will depend on your needs and preferences. If you plan to entertain large groups, you may want to choose a larger station or grill island. If you prefer a more modern look, you can opt for a sleek and contemporary style.
The materials you use for the construction will depend on the size and style of your grilling station or BBQ island. You can use concreteConcrete is a composite material made from a mixture of cement, sand, gravel, and water. It is one o... blocks, woodWood is a natural, organic material derived from trees, commonly used in landscaping and constructio..., or a combination of both.
Once you have a plan and design for your outdoor kitchen island, it’s time to gather the necessary tools and materials.
Depending on the size and style of your grilling station, you may need additional tools and materials.
The foundation of your grilling station is important because it will provide stability and support. There are two options for the foundation: a concrete slab or pre-made pavers.
If you opt for a concrete slab, you must excavate the area where the slab will be placed. This will require a shovel, a wheelbarrow, and a level.
If you choose to pour a concrete slab, you must purchase a concrete mix and follow the instructions on the package. If you opt for pre-made pavers, you will need to purchase the pavers and place them in the desired area.
Once the foundation is in place, you can begin building the base of the grilling station.
If you plan to use concrete blocks for the base, you will need to purchase the blocks and mortar. Follow the instructions on the mortar package to ensure that the blocks are securely attached to the foundation.
If you choose to use wood for the base, you will need to purchase 2x4s and 4x4s. Cut the wood to size and attach it to the foundation using wood screws and nails.
Once the base is in place, you can add the countertops. You can purchase pre-made countertops or build them yourself. If you choose to build them yourself, you will need to purchase the necessary materials and assemble the countertops. Make sure to take countertop thickness into consideration.
Adding shelves to your outdoor grill island is a great way to store grilling tools and accessories. You can purchase pre-made shelves or build them yourself. If you choose to build them yourself, you will need to purchase the necessary materials and install the shelves.
The final step in building your outdoor grilling station is to install your stainless steelSteel is a strong, durable alloy made primarily of iron and carbon, commonly used in construction an... grills and propane tank. Place the grill in the desired location and secure it to the base using wood screws and nails.
Once the grill is installed, you can add the finishing touches to your outdoor grilling station. This includes placing your outdoor kitchen appliances, outdoor sink, lighting, decorative elements, plants, and other items.
Finally, be sure to use a long-handled grill brush to clean the grates of the grill after each use. This will help ensure your grill is always in good condition and ready for your next big cookout.
Do you want to change the look of your outdoor living space but are unsure where to begin? West Hills Masonry has been creating stunning landscapes and outdoor kitchen projects in Orange County and neighboring areas for more than 15 years.
We can help you transform your dream landscape into reality. For your next project, call West Hills Masonry at 714-519-5009 today for a free estimate!
 Carlos Gonzales
Locations We Serve
Schedule A Consultation