Elevate Your Exterior
Transform Your Outdoors with West Hills Masonry!
Call our Professional Contractors!
(714) 519-5009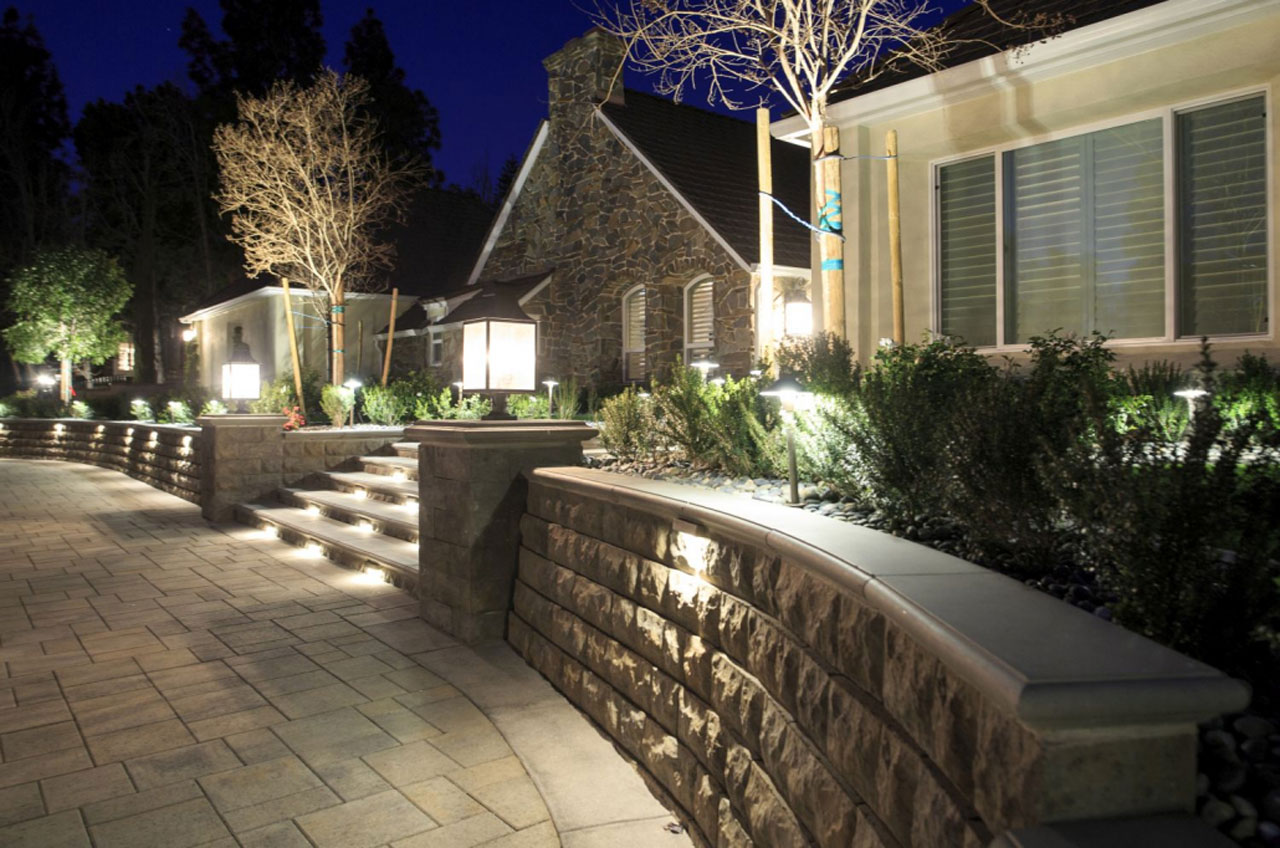
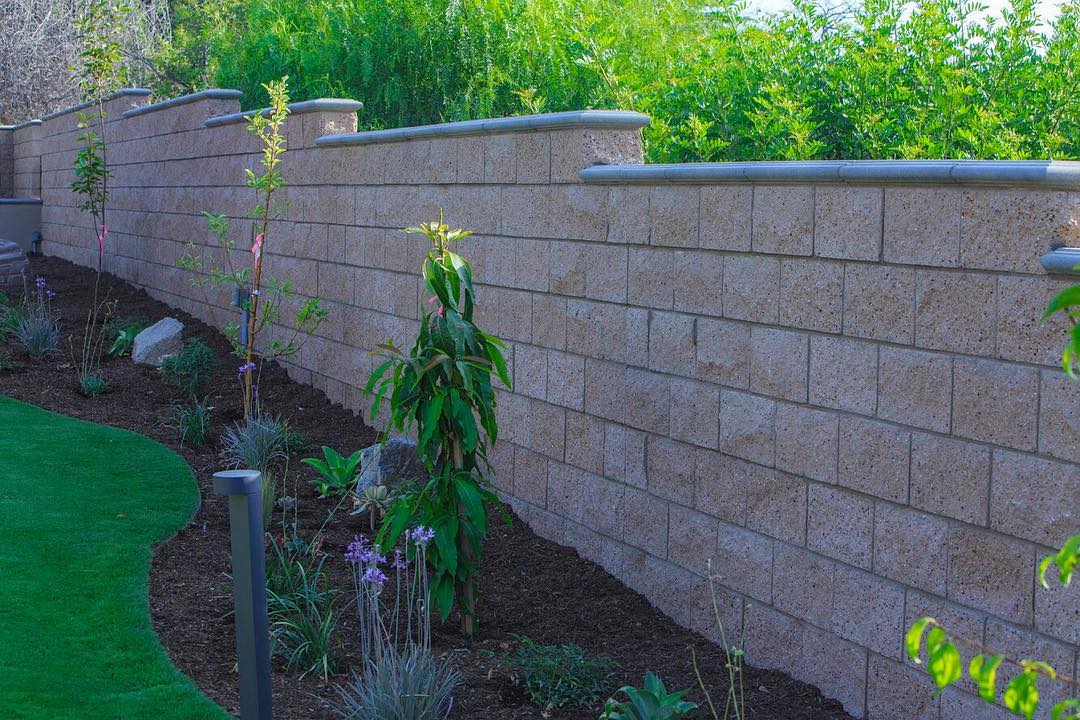
A retaining wall raises the levelA level is a tool used to determine whether a surface is horizontal (level) or vertical (plumb). It ... of sophistication in an outdoor space. Along with many other advantages, having these barriers in place may lessen flooding and soil erosion. You should consider carrying out this wall project since it can also increase the value of your home.
But what if your land is sloped and surrounds a tree, how should you proceed? Several aspects of the plan might need to be adjusted, but it is still feasible when done with the help of a professional hardscapingHardscaping refers to the non-living elements of landscaping, such as stone, brick, concrete, wood, ... contractor. With these step-by-step instructions, you will learn how to build a retaining wall around a sloped tree.
A large nail should be used to secure a piece of string that is as long as the distance from the tree to the desired location for the wall. As a guide for wall construction, pull the nail firmly and use it to ensure a uniform distance from the tree in all directions.
Make a circle with a diameter of three to six feet around your tree. Putting your retaining wall on a steep slope requires the trench to be level all the way around. It is important that the ring is large enough to accommodate the stones or pavers you are going to use.
After digging your stepped trench, it is time to lay the gravel foundation. In order to lay a solid foundation, 6 inches of leveled and packed gravel should be poured. Sloped construction will require filling your base of gravel in rows.
Ensure that your packed gravel base is flat before you install your first row of blocks. When laying each block, ensure that all sides are level before moving on to the next one.
It is imperative that this row is constructed correctly since it forms the foundation of your wall. Once you put your next rows, it is not possible for you to go back and adjust the base.
Following the setting and levelingLeveling is the process of creating a flat, even surface in preparation for construction or landscap... of your first row of blocks, you will be able to see how much space there is between the trench wall and the first row of blocks. Rough gravel will then be used to fill this space and facilitate drainage.
Make your first row of blocks stand out by filling the space in front of them with dirt. Having dirt in front of your wall blocks, along with rough gravel behind them, provides extra strength to your structure.
Mix masonry cement with water in a bucket. Follow the proportions specified by the manufacturer's instructions on the label.
Apply the cement with a putty knife or offset spatula. The first layer of rocks should be covered by a thin layer of cement.
Most challenges arise from the foundation layers. However, once the base layers are installed, installing the remaining layers will be straightforward. Stack the blocks one at a time.
In order to avoid joints being lined up, the joints of the second layer should intersect those of the first layer midway. As you go, keep adding drainage gravel behind the rows of blocks.
Ensure no rocks or dirt lie between the layers and that the blocks fit snugly together.
Repeat the previously outlined process until the inches of the wall are at the height you want. Since you are building along a slope, the rule of thumb is to ensure your top layer of stone is tall enough to provide about a foot of space between it and the slope.
To hold the last row of blocks in place, construction adhesive will be applied. To do so, each block in the top layer should be flipped over, covered with adhesive, and then repositioned. Once again, ensure that dirt and rocks do not get between the layers.
After the cement wall has dried and cured in accordance with the manufacturer's directions, top off the ring with topsoilTopsoil is the uppermost layer of soil, rich in organic matter and nutrients, making it ideal for ga... or compostCompost is a nutrient-rich organic material created by the natural decomposition of plant and food w....
You can use the additional landscaping space by planting annualsAnnuals are plants that complete their life cycle in one growing season, blooming for several months... or perennialsPerennials are plants that live for more than two years, typically blooming each season and returnin... in the ring. This can also add aesthetic value to your yard.
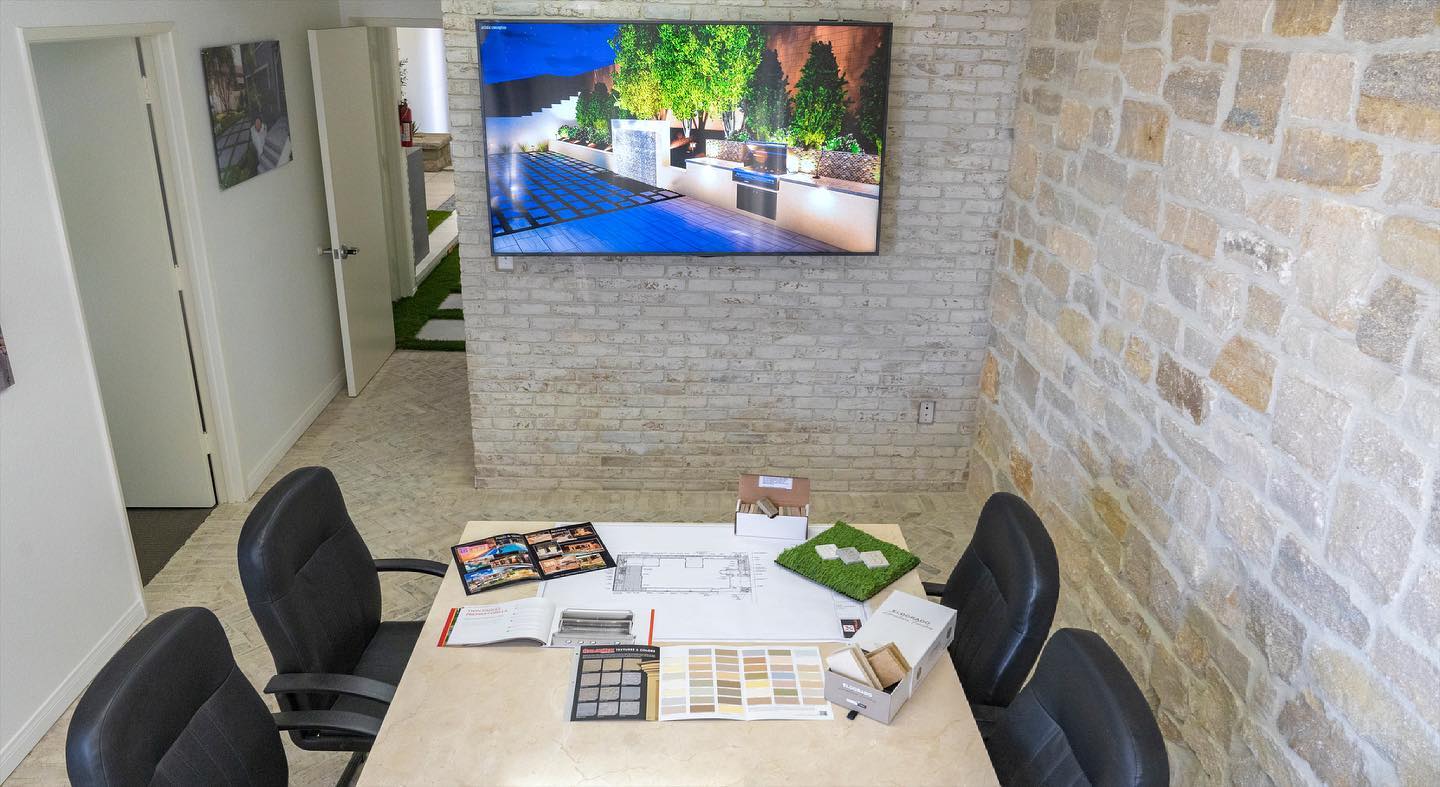
Adding retaining wallsRetaining walls are structures designed to hold back soil and prevent erosion in landscapes with var... to your property is a great method to raise its worth, usability, and aesthetic appeal. This kind of investing has several benefits. Thus, it is much preferable to work with a professional hardscape contractor right off the bat.
Get in contact with West Hills Masonry if you're ready to have a stunning retaining wall built in your garden. Our crew of contractors and landscaping specialists places the utmost priority on delivering top-notch retaining wall installationRetaining wall installation is the process of constructing a wall to hold back soil, prevent erosion... services and making sure that clients are satisfied.
Visit our website for more information on our services, or give us a call at 714-519-5009 at West Hills Masonry to arrange a consultation today!
 Carlos Gonzales
Locations We Serve
Schedule A Consultation