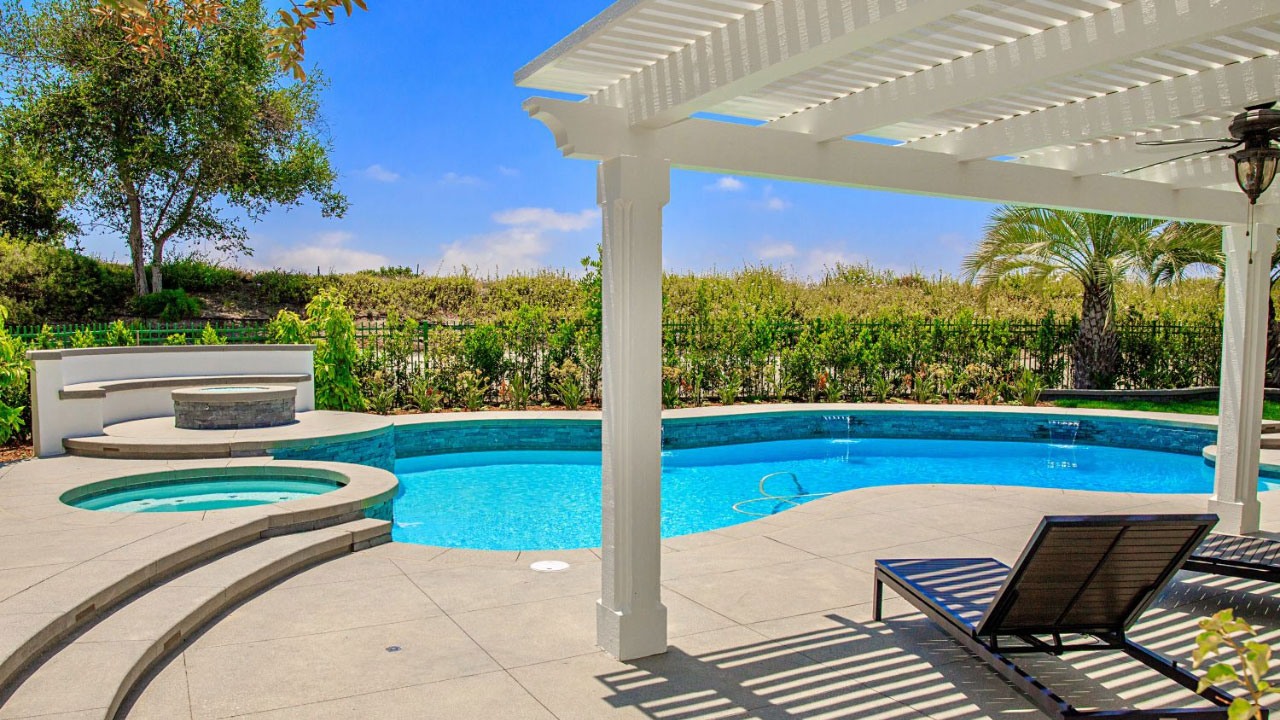
Elevate Your Exterior
Transform Your Outdoors with West Hills Masonry!
Call our Professional Contractors!
(714) 519-5009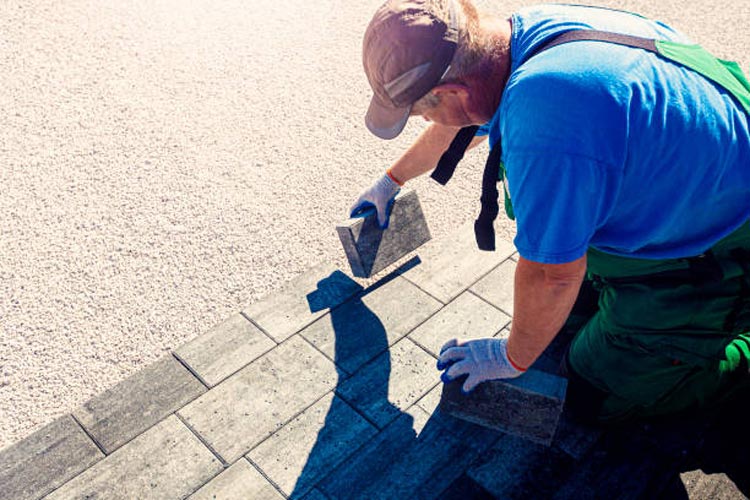
Are you sick of your mundane, uninspiring exterior landscape? Are you ready to wake up every morning to a new and refreshing outdoor space that makes you proud to take care of with the help of reliable hardscape contractors?
While landscaping isn’t everyone’s favorite chore to complete around the house, with a few tricks, some inexpensive brick pavers, and careful thought and preparation, your home’s landscaping can look brand new quicker than you’ve ever imagined.
Whether you’re doing it yourself or hiring a team of Orange County landscape contractors, there are a few landscaping tricks you should be aware of beforehand.
If you want to add newfound beauty to your landscaping with only a few bricks, keep reading to learn more about these tricks to teach you, and discover why choosing the number one hardscape contractor in Orange County is essential in creating a beautiful outdoor space.
Here are some of the best landscaping tricks to save you time and stress during your next project during the summer months.
You can create a layout line for setting bricks by stretching a string between stakes, but placing a chalk line in the sand is faster and eliminates the need for a string. Laying bricks is quicker and easier using layout lines drawn on the sand.
Because dry sand will not adhere to the chalk, you may need to spray the sand with water before snapping lines. Then, using a typical carpenter's chalk line reel, snap layout lines straight on the sand.
For carrying flat stones and brick piles, heavy-duty, two-wheel dollies are ideal.
Ball carts are special dollies with a bent back that fits around a tree's root ball. These can be found at various rental shops and are ideal for moving stones.
Dry sand is washed or brushed out of the joints between paver bricks and stone patios. The use of special polymeric sand that bonds together when wet is one solution.
You can either buy the polymeric sand and mix it with dry sand yourself at the same time, or you can purchase sand that has already been combined for you.
The most practical solution is premixed sand. On paver bricks, a bag covers around 120 square feet. Before you water the brick or stone, make sure there is no sand on the surface by consulting landscapers and home improvement stores.
When cutting concrete, bricks, or blocks, spray the diamond blade with water. The best method is to use a garden sprayer with a modest, regulated stream. The water also cools the blade and speeds up the process of cutting.
Check to see if the saw is double-insulated or has a grounded plug and that it is plugged into a ground-fault circuit interrupter (GFCI) outlet or GFCI-protected cord.
Working with brick or stone all day can scrape the skin off your fingers and cause bleeding. Gloves are acceptable, although they impede dexterity and rapidly wear out.
Pick up a roll of one to one-and-a-half-inch-wide athletic tape at the drugstore and wrap a couple of wraps over each of your fingers while laying bricks. You'll be able to keep a firm hold on the bricks, and your fingers won't be raw by the end of the day.
The top courses of stone on a wall are usually secured using mortar. On the other hand, polyurethane glue achieves the same result without the hassle of making mortar or the skill required to trowel it on.
Polyurethane also maintains its flexibility, so it does not crack or fall out like mortar. Shim stones with crushed stone chips and adhesive to keep them steady until the adhesive cures.
Home centers sell polyurethane adhesive, which is at least as strong as dedicated landscaping adhesives.
Most walkways, patios, walls, as well as a fire pit, require an eight to 12-inch deep compacted gravel base, depending on the kind of soil. However, dumping eight inches of gravel into a trench and compacting it using a plate crusher will only compact the top few inches.
Uncompacted gravel settles over time, causing waves in the wall or roadway. Add the gravel in two or three-inch-deep layers, and run the plate compactor over each layer before adding the next for a fully compacted, non-settling paver base.
Because it exerts huge pressure behind the wall, water-soaked soil is the deadliest adversary of retaining walls.
For long-lasting, bulge-free walls, installing good drainage behind block or stone walls is essential. To drain to daylight, start by installing perforated plastic drainage tubing at the paver base of the wall, slightly above ground level. Slope the tube at a 1/4-inch-per-foot angle.
When landscaping with pavers in your backyard, it's crucial to remember to dig deep. To begin, contact your local utilities to get your cable, plumbing, or electricity lines marked. Then, about six inches below the roots of your plants, dig.
Water the soil the night before you dig if you live in a dry location. You will be able to dig more easily.
It's critical to strive to keep the movement of your pavers to a minimum over time. As a result, make sure you have enough pavers to create a solid edge.
You can also add a cement lip or edge made of vinyl or metal. This will also help to keep weeds at bay.
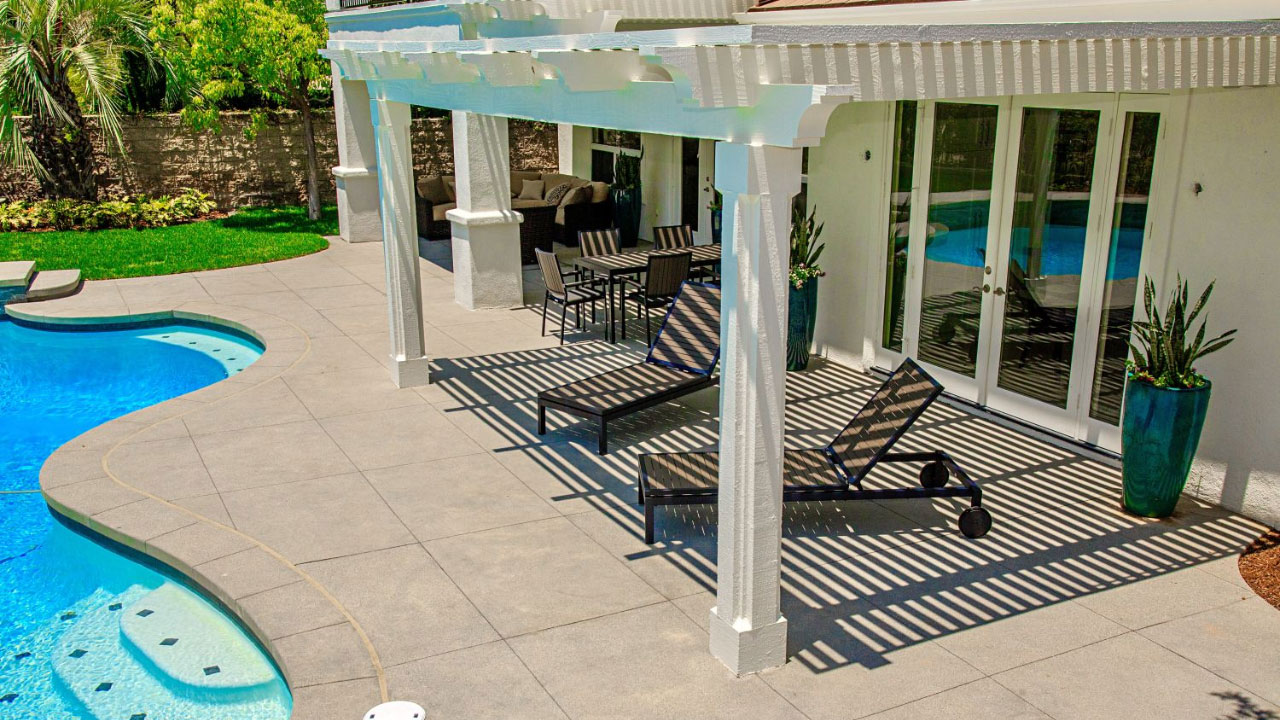
A well-designed paver patio begins with careful design. Do some creative brainstorming and carefully study all of the locations that will surround your paver patio before you start crafting your ideas
Keep in mind any future landscaping designs you may have, such as a hot tub, grill, paths, flower bed, or a fire pit.
Of course, the most significant element to consider is the size. If you make a mistake with the size calculation, it will ruin your landscaping design plans and cause you a lot of issues later.
During the design step, use precise measurements and take your time. Choose your stones and borders carefully, and most importantly, be imaginative.
The key to a long-lasting paver patio is a solid base. Weather, erosion, settling, and earth movement will all cause the patio to shift if the base isn't adequately prepared.
This is the most challenging part of the project, but it is also critical for a successful installation.
Plastic edging for brick patios is designed to be mostly hidden after the bricks are in place. Metal spikes are used to secure it. Follow the manufacturer's instructions for installing paver edging around the perimeter of the patio.
To avoid cutting any bricks, line up bricks along the sides to ensure that the edging is exact. The edging should hug the test-fit bricks tightly. Keep the edging in place while removing the test-fit bricks.
Excavate to a depth of eight inches in the patio area, extending the excavation six inches beyond the brick plan on all sides. To maintain an eight-inch depth, slope the soil to follow the layout lines, measuring down from the lines as you go.
Excavate to full depth on both sides before digging out the center, ensuring the entire area is flat and level from on all sides with a long, straight 2x4 board and a level. The dirt foundation will slope toward the downhill end but will be level from side to side.
Using a hand tamp or a hired plate compactor, compact the soil thoroughly.
Create layout lines for the patio with stakes and mason's line. The proportions should be based on the size of the brick paver, the lines should indicate the brick's outer edges, not the edging.
You can also create a layout with just four stakes, but it's ideal for putting two stakes in each corner, about two feet beyond the patio's sides. The spots where the lines cross designate the corners of the patio when you connect lines to the posts.
With this configuration, you can excavate and prepare the entire patio space without worrying about the stakes getting in the way. Measure diagonally between opposing corners where the strings meet, to ensure the string layout is square—the layout is square when the diagonal measures are equal.
As you can see, using brick pavers to landscape your own outdoor space is a fantastic concept worth considering. Naturally, if your patio already has a particular design, you'll need to select pavers that complement it, but be sure to also consider some of the alternatives we provided and decide which one best fits the personality of your home.
Are you looking to make some changes to your backyard project but aren’t sure where to start?
West Hills Masonry has provided beautiful landscapes and professional landscaping services to our customers in Orange County and the surrounding areas for over 15 years.
We are considered one of the best Orange County landscape contractors and we've worked hard to earn that reputation in providing high-quality landscaping services and well-crafted solutions, and we can't wait to assist you.
If you’re thinking about starting your next home improvement project, get a free quote and discover how our landscaping experts can help you create a beautiful outdoor space to fall in love with.
Contact us at West Hills Masonry today!
 Carlos Gonzales
Locations We Serve
Schedule A Consultation