Elevate Your Exterior
Transform Your Outdoors with West Hills Masonry!
Call our Professional Contractors!
(714) 519-5009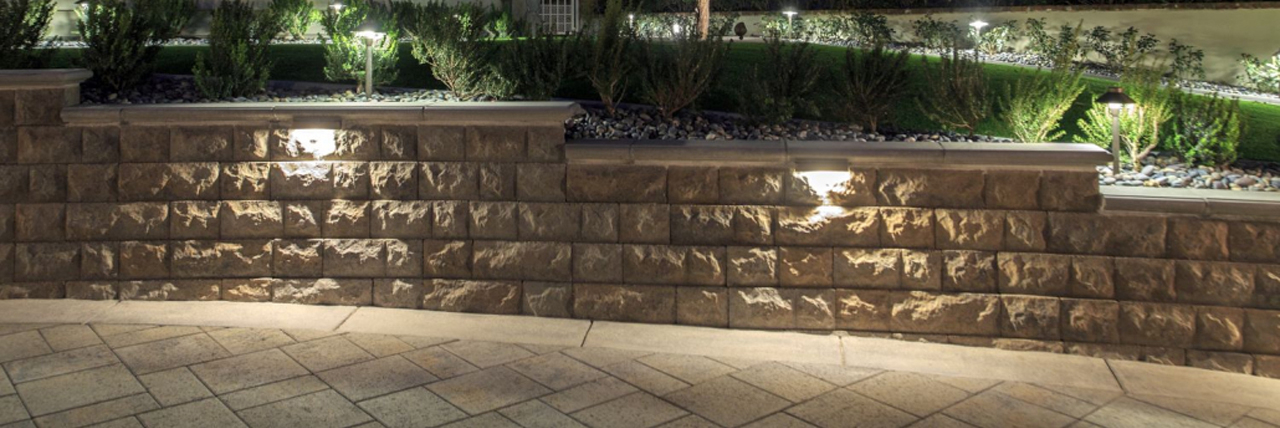
Are you considering a retaining wall project to enhance the aesthetics and functionality of your outdoor space? If you're a DIY enthusiast looking to save on costs while achieving a beautiful result, concreteConcrete is a composite material made from a mixture of cement, sand, gravel, and water. It is one o... retaining wall molds could be the answer to your needs.
Concrete retaining wall molds are versatile tools that make it possible for you to create a durable and visually appealing wall without the need for professional masonry skills. By understanding the process and following some valuable tips, you can take on this DIY project with confidence.
Choosing the correct mold is crucial. Various concrete retaining wall molds are available, differing in size, shape, and texture. To make an informed choice, consider the size and height of the wall you intend to build, as well as the desired finish.
Whether you opt for a stone-like texture or a smooth modern look, selecting the right mold is the foundation of your project's success.
The key to a stable and long-lasting retaining wall is a well-prepared foundation. Ensure the ground is levelA level is a tool used to determine whether a surface is horizontal (level) or vertical (plumb). It ... and properly compacted before you start building. Depending on your specific project, you might need to excavate the area where the wall will be situated.
Following the manufacturer's instructions, assemble the mold correctly. Ensure it's level and securely fixed in place before pouring the concrete. Proper assembly prevents issues during the pouring and curingCuring is the process of maintaining moisture, temperature, and time conditions to allow newly place... process.
Follow the instructions on your concrete bag to create the concrete mix. It's vital to mix the concrete adequately to fill the entire mold. Slowly pour the concrete into the mold, taking care not to overfill. After the mold is filled, tap its sides to remove any air bubbles.
The curing process is essential for the concrete to achieve its full strength. Follow the guidelines on the concrete bag for curing, which may take several days. Proper curing ensures the wall's durability and stability.
Once the concrete has fully cured, you can carefully remove the mold. Be cautious not to damage the wall when taking the mold off.
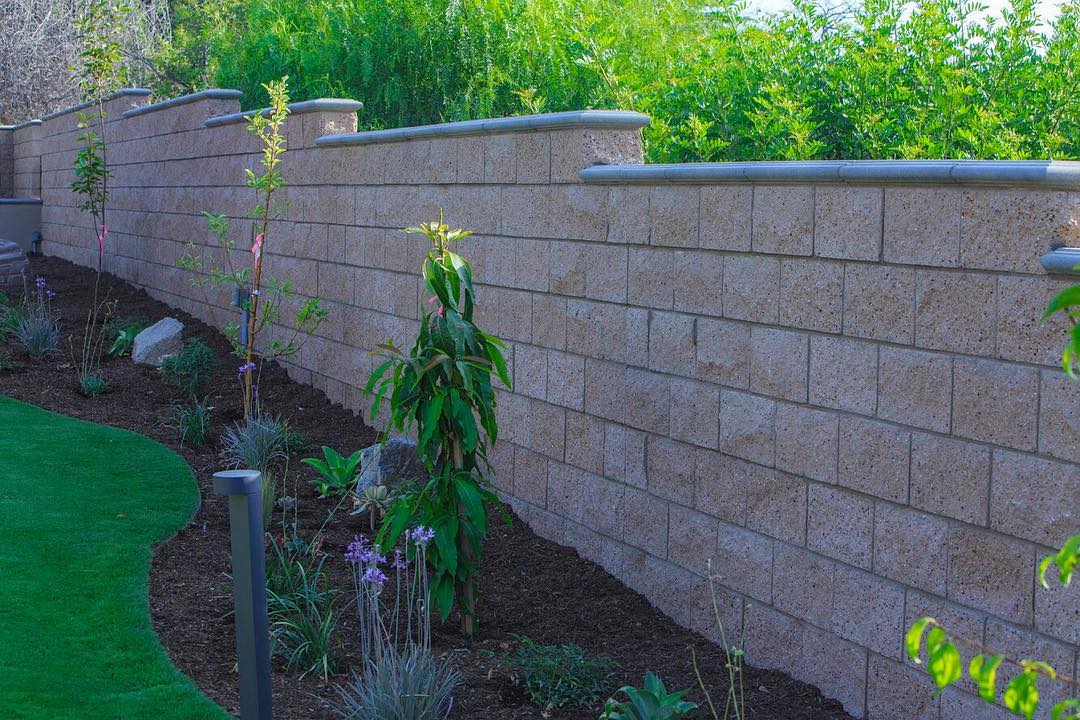
Using concrete retaining wall molds offers a cost-effective and rewarding way to create an impressive retaining wall for your property. With careful planning, the right materials, and a little elbow grease, you can achieve a beautifully designed wall that adds charm and functionality to your outdoor space.
Don't be afraid to explore various mold options, textures, and finishes to match your style, and enjoy the satisfaction of completing this DIY project.
While creating your DIY concrete retaining wall is a rewarding project, there are six common pitfalls to watch out for:
Concrete retaining wall molds come in various shapes and textures. Your choice of mold significantly influences the final appearance of your retaining wall. Here are a few popular types:
Embarking on a DIY concrete retaining wall project can be an exciting and fulfilling endeavor. Yet, remember that safety and careful planning are paramount. If you find the project daunting or prefer professional expertise, West Hills Masonry is here to support you.
Our team of experienced hardscape contractors specializes in creating stunning, durable, and functional retaining wallsRetaining walls are structures designed to hold back soil and prevent erosion in landscapes with var.... We offer not only our technical knowledge but also our creative insight to make your vision a reality. Your outdoor space deserves the best, and we're here to provide it.
Contact us at 714-519-5009 at West Hills Masonry today, and let's discuss your project. Whether you choose the DIY route or opt for our professional assistance, your retaining wall will be a testament to quality and craftsmanship. Your dream outdoor space awaits!
 Carlos Gonzales
Locations We Serve
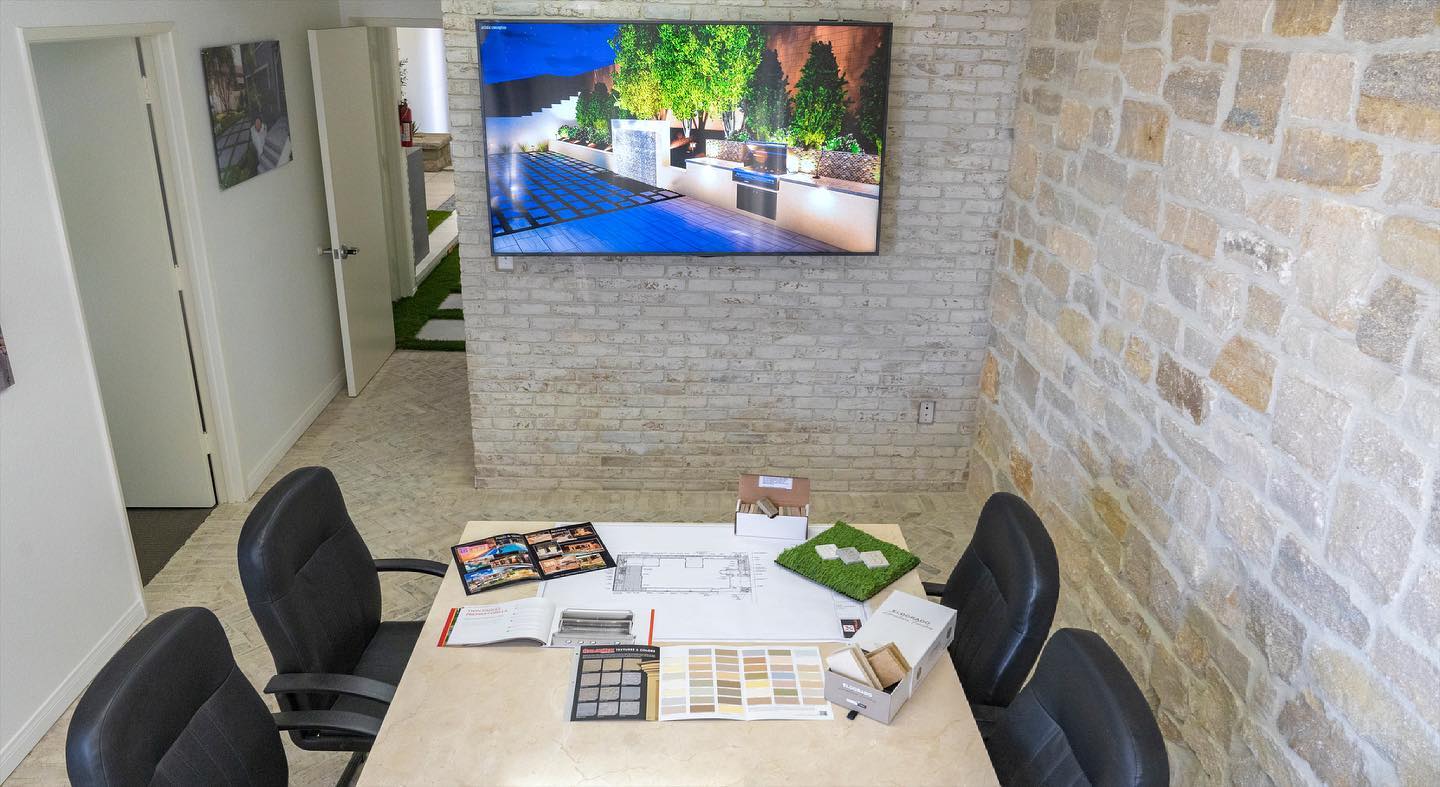
Schedule A Consultation